GrowSmart UK

Six free growing projects

Don’t Throw It, Grow It!

Give a few kitchen scraps a second chance. Start with one small project, using what you already have.

You don’t need a big garden, expensive equipment or years of experience. Whether you can spend hours gardening or just a few minutes a week, there’s something you can grow. Whether you do everything yourself or have someone help you, you’re a gardener. You’re welcome here.

All six guides are free, with no payment or account needed. Water-only projects usually give a few leaves, not a full replacement crop.

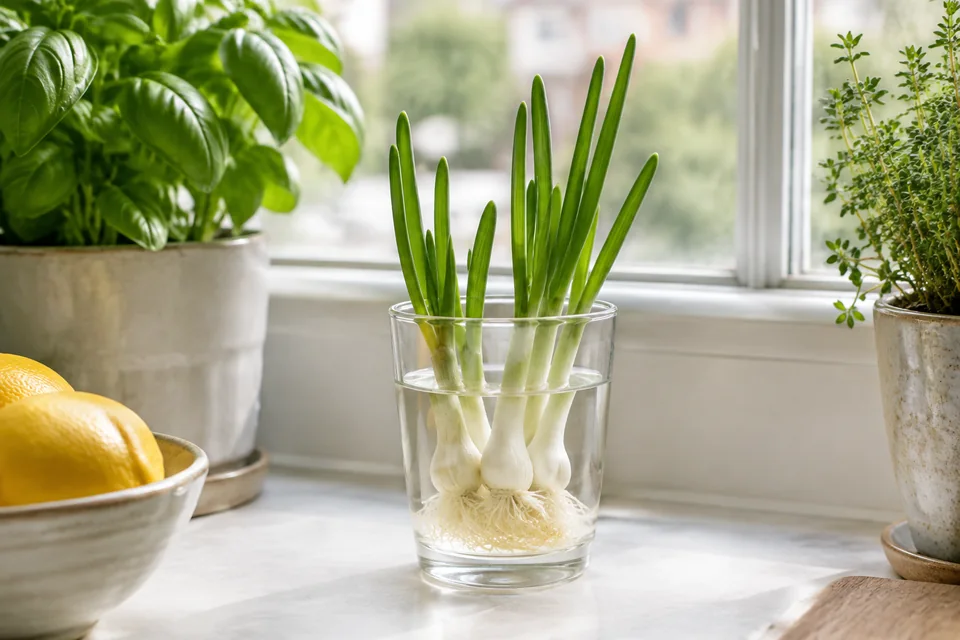
Spring onion bases regrowing green shoots in a glass of water

Regrowing spring onions

Save the rooted base and grow a few fresh green leaves on a bright windowsill.

Equipment, steps and realistic results

What you need

  • Spring onion bases with healthy roots and 3 to 5cm of white stem
  • Clean shallow jar, water and scissors
  • A small pot with drainage holes and peat-free compost for longer growth

Steps

  1. Keep the white bases and roots from fresh spring onions. Do not use slimy or mouldy scraps.
  2. Stand the bases upright in a jar with just enough water to cover the roots. Keep most of the stem above water.
  3. Place on a bright windowsill and change the water daily. Rinse the jar regularly.
  4. Once new leaves and roots appear, plant in compost with the tops above the surface. Water lightly and allow excess water to drain.
  5. Snip a few green leaves, leaving the base and some leaf growth intact.

How long it takes

New shoots often appear within 3 to 7 days. A small cutting of leaves may be ready after 2 to 3 weeks.

What to expect

Expect modest amounts of green tops, not a never-ending supply of full spring onions. Compost provides nutrients that water alone cannot.

Safety

Discard any base that smells unpleasant or develops mould. Wash harvested leaves before eating.

Make it work for you

Keep the jar on a tray at a comfortable height. Someone can help cut and pot the bases while you choose the spot and watch the growth.
Download regrowing spring onions PDF
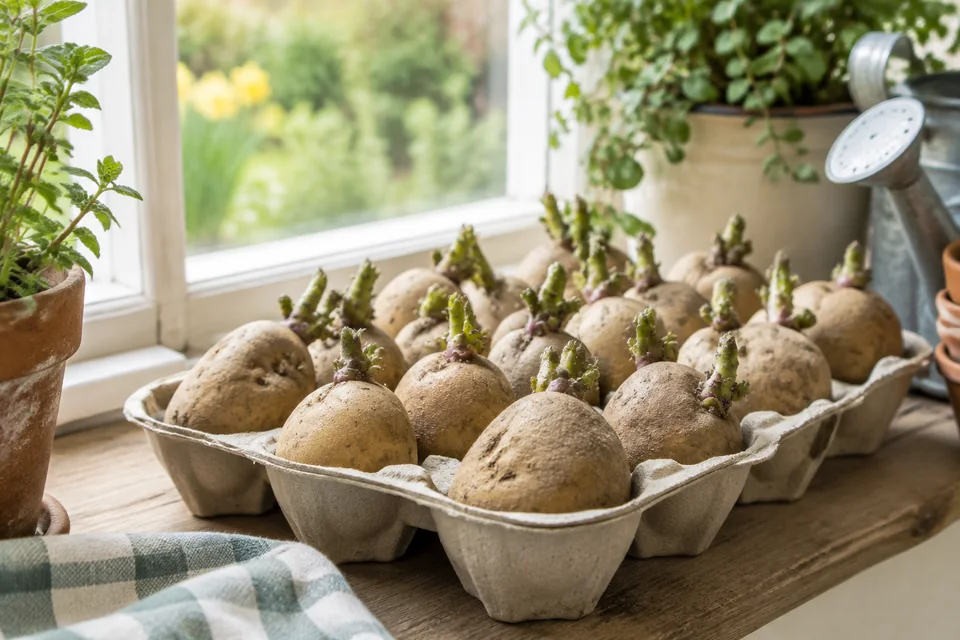
Seed potatoes with short green shoots chitting in a cardboard tray

Growing potatoes from sprouting potatoes

Try a small container crop with a healthy sprouting potato, while understanding the disease risks.

Equipment, steps and realistic results

What you need

  • One firm, healthy sprouting potato
  • A clean food-safe container of about 30 litres with drainage holes
  • Peat-free compost, water and gardening gloves

Steps

  1. For the most reliable crop, use certified seed potatoes. A shop potato is an experiment: it may carry disease or have been treated to prevent sprouting. Never use a rotting potato.
  2. Choose a sunny outdoor spot after hard frosts have passed, usually March to April in much of the UK. Protect shoots from frost.
  3. Add about 10cm of compost to the container and place one potato with sprouts facing up. Cover with another 10cm of compost.
  4. Water when the compost starts to dry. As shoots reach about 15cm, add compost around them, leaving the tips visible.
  5. Keep tubers covered and do not allow the compost to dry out completely. Harvest gently once plants flower for earlies, or foliage dies back for maincrop types.

How long it takes

Depending on the variety and conditions, allow about 10 to 20 weeks from planting to harvest.

What to expect

A container may give a small harvest, but results vary. Shop potatoes are not disease-certified. Keep this trial separate from an established potato patch.

Safety

Never eat green potatoes, sprouts or potato leaves. Cut away small green areas generously; discard heavily green or bitter potatoes. Do not compost diseased plants in a home heap.

Make it work for you

Place the container where it can stay for the season: wet compost is heavy. Ask for help filling it and harvest a little at a time at a comfortable height.

Download growing potatoes from sprouting potatoes PDF
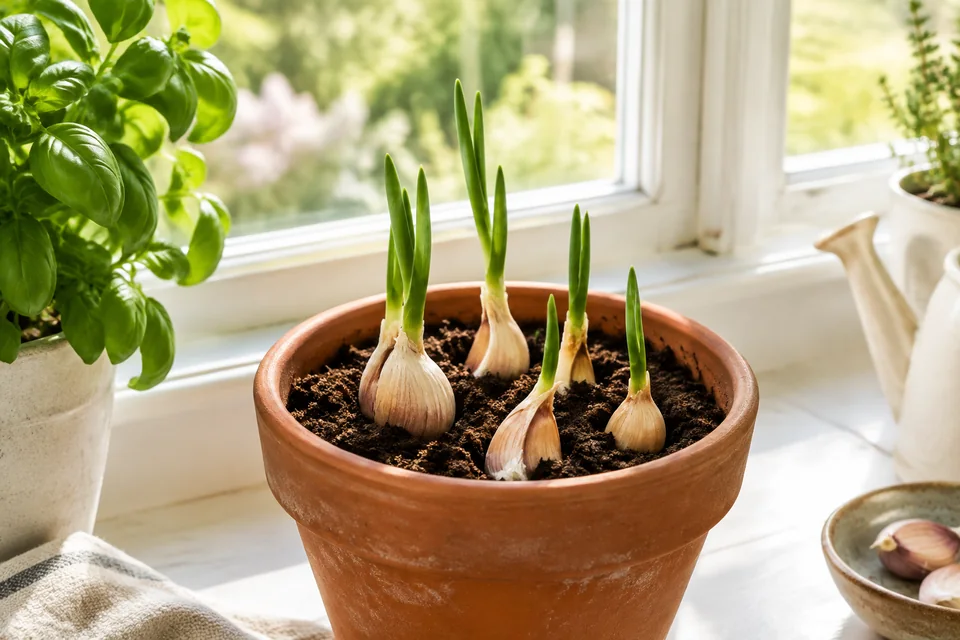
Garlic cloves with green shoots growing in a terracotta pot

Growing garlic from cloves

Plant a healthy clove in compost for garlic greens or try growing a full bulb outdoors.

Equipment, steps and realistic results

What you need

  • Firm, healthy garlic cloves
  • A pot at least 20cm deep with drainage holes
  • Peat-free compost, water and a sunny spot

Steps

  1. Choose seed garlic for the best chance of a full bulb. Shop garlic may be unsuitable for the UK climate or carry disease.
  2. Separate cloves without peeling them. Discard any that are soft or mouldy.
  3. For outdoor bulbs, plant in autumn or late winter in free-draining compost. Set each clove pointed end up, about 2.5cm below the surface and 15cm apart.
  4. Water during dry spells but avoid waterlogging. An outdoor spot usually works better than a warm windowsill for bulb formation.
  5. For greens, snip a small amount after leaves develop. For bulbs, leave the leaves to feed the plant, then lift when foliage starts to yellow in summer and dry in an airy place.

How long it takes

Garlic greens can develop in 2 to 4 weeks. A full bulb commonly takes 6 to 9 months, depending on planting time and variety.

What to expect

A clove may give useful greens even if it never forms a large bulb. Bulb production needs suitable varieties, enough cold and a long growing season.

Safety

Discard mouldy cloves and do not keep compost saturated. Wash greens before use and dry harvested bulbs thoroughly before storage.

Make it work for you

Use a pot positioned at a comfortable working height. You can grow greens in a small pot if moving or maintaining a larger outdoor container is inconvenient.

Download growing garlic from cloves PDF
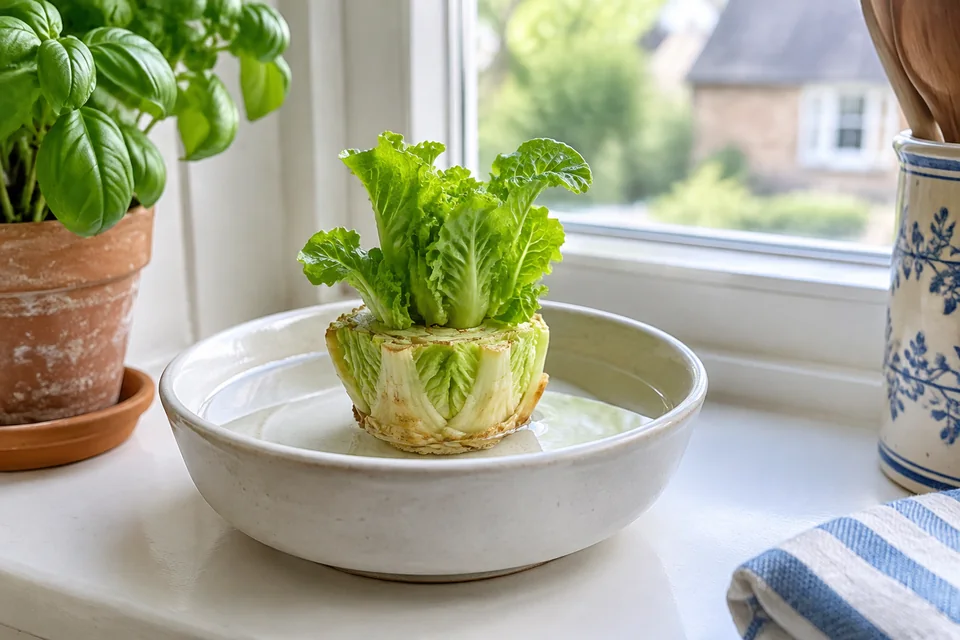
A lettuce base regrowing fresh leaves in a shallow dish of water

Regrowing lettuce

Use a fresh lettuce heart for a short windowsill project and a few new leaves.

Equipment, steps and realistic results

What you need

  • A fresh romaine or cos lettuce base with 3 to 5cm of stem
  • A clean shallow dish and water
  • An optional small pot of peat-free compost

Steps

  1. Save the firm base after cutting the leaves. Discard scraps that are slimy or mouldy.
  2. Stand the base cut-side up in a shallow dish with about 1cm of water. Do not submerge it.
  3. Put it in a bright spot out of hot midday sun and change the water daily.
  4. If healthy roots develop, move the base to a pot of compost, keeping the crown above the surface.
  5. Pick a few tender new leaves once they are large enough. Remove the base if it deteriorates or starts to flower.

How long it takes

Small leaves may appear in 3 to 7 days. Allow around 2 to 3 weeks for a small picking.

What to expect

You are unlikely to regrow a complete shop-sized head. This is a short project for a few leaves; fresh seed is better for regular harvests.

Safety

Warm standing water encourages decay. Clean the dish, discard rotting bases and wash any leaves before eating.

Make it work for you

Set the dish on a stable tray within easy reach. A small daily water change can be shared with someone helping you.

Download regrowing lettuce PDF
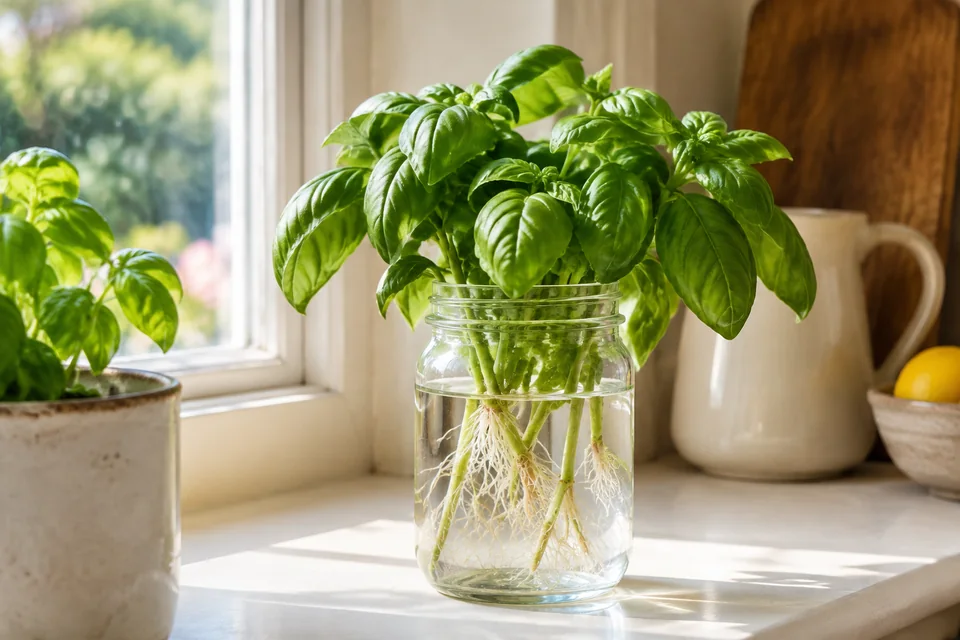
Basil cuttings with white roots in a glass jar of water

Growing basil from cuttings

Root a healthy basil stem to make another small herb plant.

Equipment, steps and realistic results

What you need

  • A healthy non-flowering basil stem about 8 to 10cm long
  • Clean scissors, a clean jar and water
  • A small pot with drainage and peat-free compost

Steps

  1. Cut a healthy stem just below a leaf joint. Remove the lower leaves, leaving a few at the top.
  2. Stand the stem in water so no leaves sit below the waterline.
  3. Keep it warm and bright, out of harsh sun. Change the water every day or two and clean the jar.
  4. When roots reach about 3 to 5cm, plant carefully in moist compost. Keep the stem upright without crushing the roots.
  5. Keep indoors until nights are reliably warm. Pinch out growing tips once established to encourage bushy growth, and harvest lightly.

How long it takes

Roots usually develop in 1 to 2 weeks in warm conditions. Allow another 2 to 4 weeks after potting for a plant strong enough for light picking.

What to expect

Healthy cuttings can become productive small plants, but some fail to root. Basil needs warmth, light and regular care, and is not frost hardy.

Safety

Use clean scissors and discard stems that turn black or slimy. Keep water and sharp tools safely positioned. Wash leaves before eating.

Make it work for you

Use a lightweight pot and a windowsill you can reach comfortably. Someone can take the cutting while you look after watering and picking.

Download growing basil from cuttings PDF
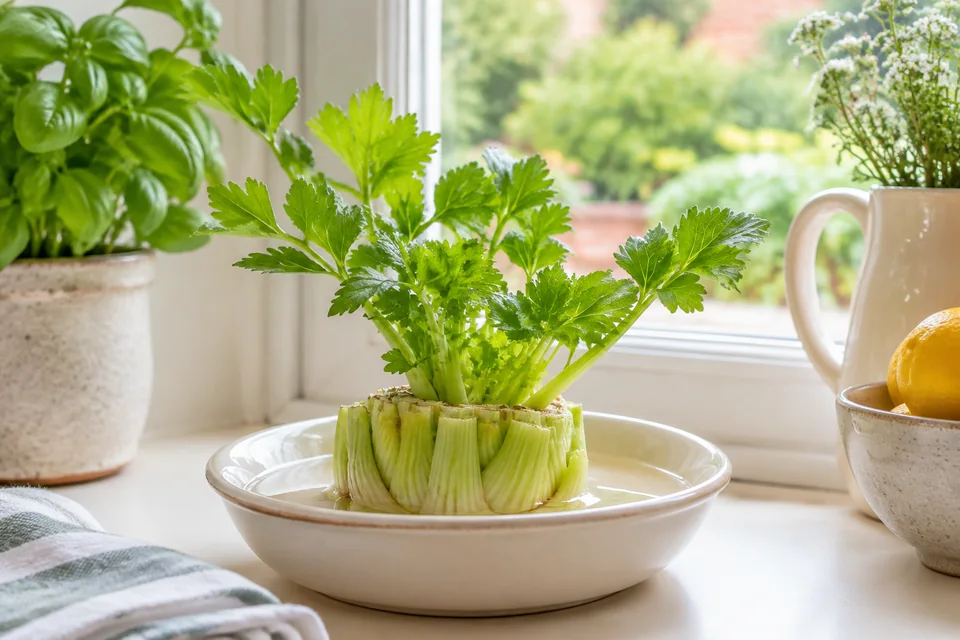
A celery base regrowing green leaves in a shallow dish

Regrowing celery

Watch a fresh celery base make new leaves, with modest harvest expectations.

Equipment, steps and realistic results

What you need

  • A firm celery base with about 5cm of stem
  • A clean shallow dish and water
  • An optional pot with drainage holes and peat-free compost

Steps

  1. Cut and save the firm base of a fresh bunch. Reject any soft or mouldy pieces.
  2. Stand the base upright in a dish with about 1cm of water. Keep the centre above the water.
  3. Place in a bright spot and replace the water daily, cleaning the dish regularly.
  4. If roots grow, plant in moist compost with the growing centre above the surface. Keep moist but not waterlogged.
  5. Snip a few new leaves for cooking once established. Start another project if the base rots or stops growing.

How long it takes

Tiny central leaves often appear within 1 week. Allow 3 to 6 weeks for a small amount of leaf growth; roots are not guaranteed.

What to expect

Expect leaves and a few thin stems, not a full supermarket bunch. Growing celery from seed or young plants is better for a substantial crop.

Safety

Discard any foul-smelling or mouldy base. Celery is a recognised food allergen; avoid handling or eating it if it causes a reaction. Wash leaves before eating.

Make it work for you

Use a stable dish on a tray at a comfortable height. Water changes and potting can be done together with someone helping.

Download regrowing celery PDF