GrowSmart UK

A simple way to make your own soil improver

Easy Composting for Beginners

Composting can be simple, affordable and satisfying. You can turn everyday garden and kitchen waste into something useful, without expensive equipment or a large garden.

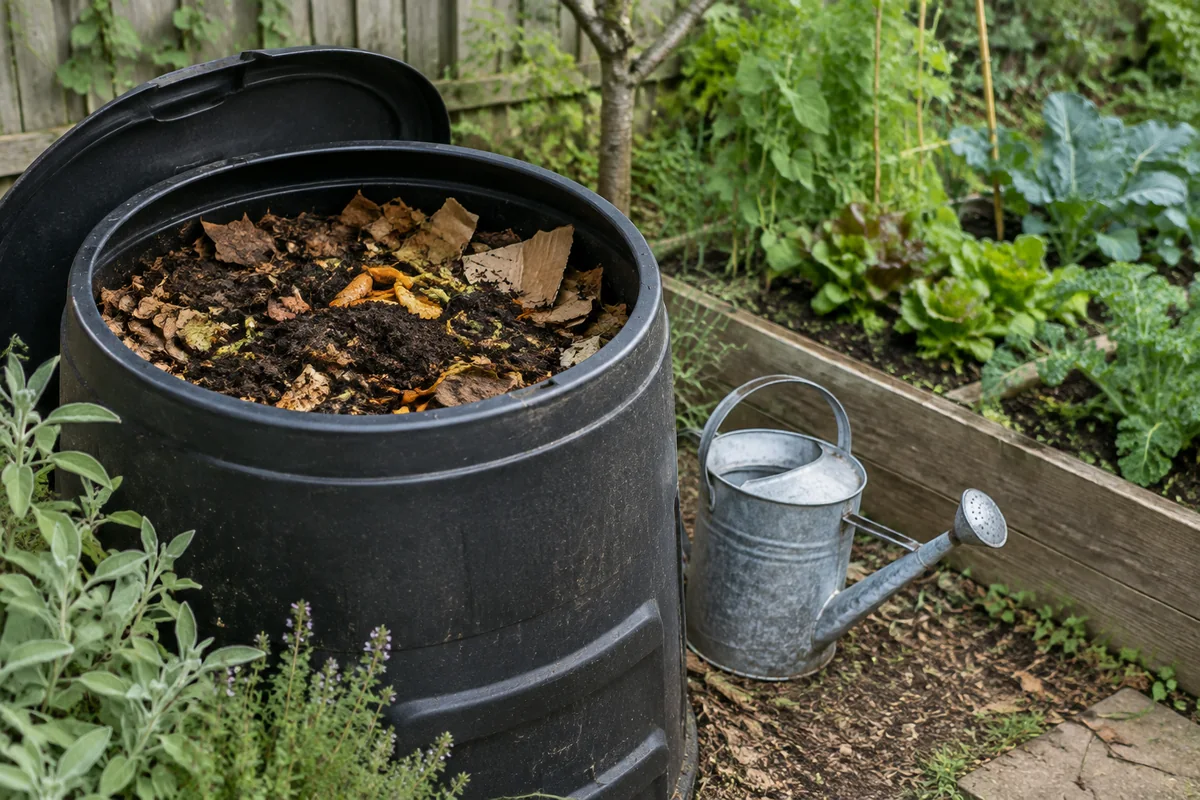
A simple garden compost bin containing vegetable scraps, cardboard, dry leaves and dark compost

Start small and let nature do the work.

A basic bin or heap, a mixture of suitable materials and a little patience are enough to begin. You can learn by watching what happens and making small adjustments along the way.

There is no need to get everything perfect. Even a modest amount of homemade compost can help improve your garden soil.

What can I compost?

Think of compost ingredients in two broad groups. A mixture of both gives the tiny creatures and microbes in your heap what they need.

Fresh, moist materials

GREEN materials

  • Fruit and vegetable peelings and scraps
  • Tea leaves and coffee grounds
  • Fresh grass clippings, added in thin layers
  • Young green plant trimmings and soft hedge clippings
  • Annual weeds before they flower or set seed

Only add tea bags labelled as suitable for home composting, and remove any staples first.
Dry, carbon-rich materials

BROWN materials

  • Torn plain cardboard and cardboard tubes
  • Scrunched or shredded plain paper
  • Dry fallen leaves
  • Straw and dry plant stems
  • Small twigs and woody prunings, chopped finely

Tearing or cutting browns into smaller pieces helps them break down more easily.

What should I NOT compost?

Keep these items out of a standard home compost heap or bin. They may attract pests, smell, spread problems into the garden or simply fail to break down.

  • Meat and fish, including bones
  • Dairy products
  • Cooked food and leftovers
  • Pet waste, including dog and cat waste
  • Diseased plants
  • Persistent weeds such as bindweed, couch grass and ground elder
  • Plastics and plastic-lined packaging
  • Glass
  • Metals
  • Glossy paper and magazines
  • Treated, painted or varnished wood

Check your local food-waste service

For meat, fish, dairy, cooked food and other items unsuitable for a standard home compost bin, check your local council’s food-waste collection service. Accepted items vary by area, so follow the council’s instructions for your own collection.

Start a compost heap or bin in five steps

You can begin with a few suitable scraps and add more as they become available.

  1. Choose an easy-to-reach spot

    A level, well-drained place on soil is ideal for a heap or open-bottom bin. A compact bin can suit a small garden; you do not need a large plot.

  2. Start with what you have

    Use a simple compost bin, a homemade wooden heap or a covered open heap. Expensive equipment is optional, and a garden fork is useful but not essential.

  3. Add a mixture of greens and browns

    Chop or tear up larger pieces. Add kitchen and garden greens with cardboard, paper or dry leaves, mixing them together rather than leaving thick layers.

  4. Keep the compost just moist and airy

    Aim for the feel of a wrung-out sponge. Cover the heap during prolonged heavy rain and turn or mix it occasionally to let in air.

  5. Give it time, then harvest

    Keep adding small batches and mixing them in. Compost can take several months to a year or longer, depending on the materials, weather and how often you turn it.

Common compost problems

A compost heap rarely needs complicated fixes. Start by checking the smell, moisture and mixture of materials.

It smells bad

Bad smells usually mean the compost is too wet, compacted or short of air. Mix in dry brown materials and gently turn the heap to add air. Avoid adding another large amount of grass or food scraps for now.

It is too wet

Add torn cardboard, dry leaves or shredded plain paper and mix them through. Cover the heap to keep heavy rain out, while still allowing air to circulate.

It is too dry

Add water a little at a time while turning the compost, so moisture reaches the middle. A small amount of fresh green material can help, but avoid making the heap soggy.

When is compost ready to use?

Homemade compost is ready when it looks and smells like a pleasant, earthy soil improver rather than the materials you put in.

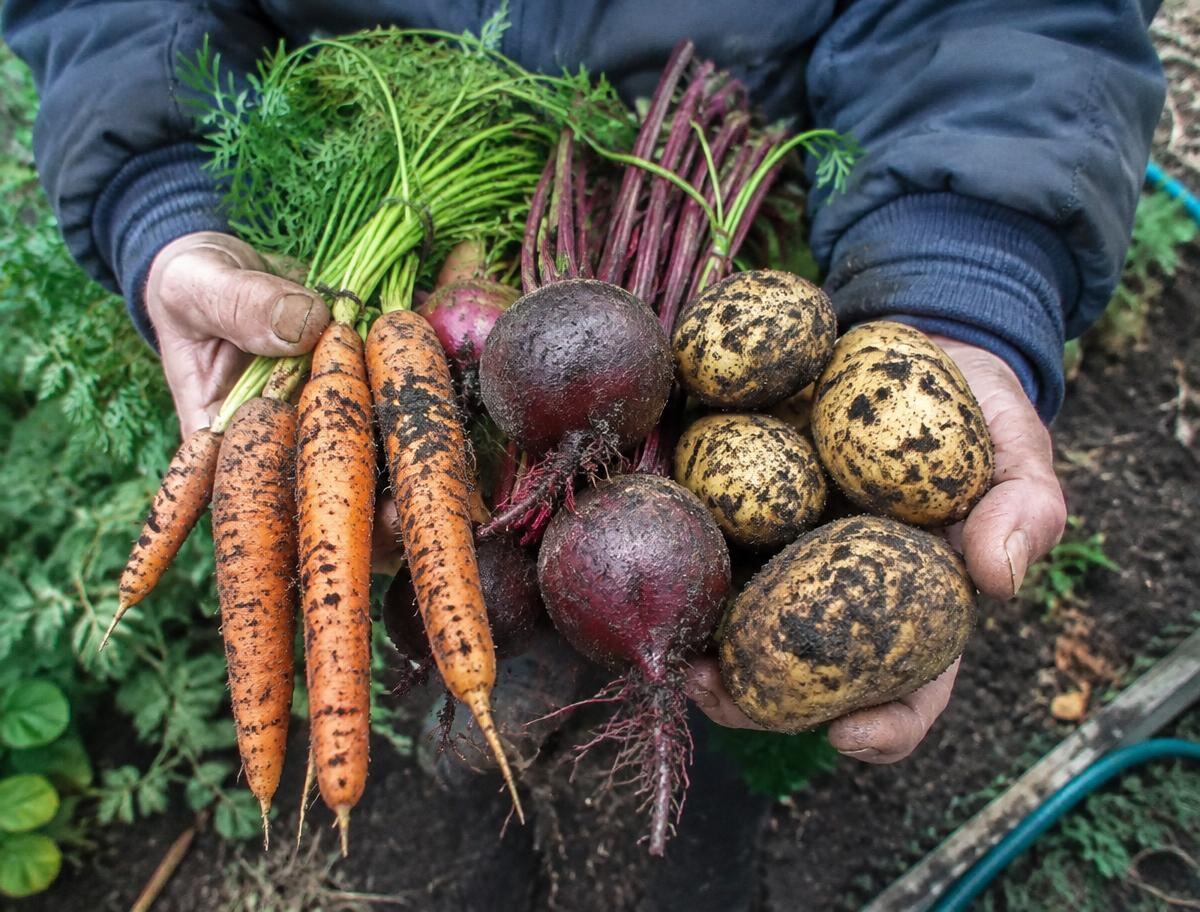
A healthy vegetable harvest from soil improved with garden compost
  • Dark brown and crumbly
  • A pleasant, earthy smell
  • Most original materials are no longer recognisable
  • The texture is fairly even, with no wet, slimy patches

A few twigs or other slow-to-break-down pieces are normal. Sieve them out and return them to the active heap. Use finished compost to improve beds or as a mulch around established plants; use a suitable peat-free compost for seeds and pots.

Don’t throw it away – turn it into something useful for your garden!

Start with one small bin or heap, use what you already have and enjoy turning everyday waste into a valuable garden resource.

Back to growing guides